To configure DKIM signing for the Cisco Ironport, please follow the below given steps:
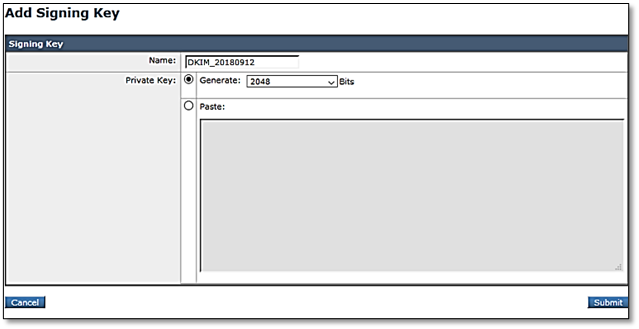
Create a new signing key pair:
Go to Mail Policies >> Signing Keys
Click Add Key
Use DKIM_YYYYMMDD as the format for the key name
Use a 2048-bit key length
Click submit
2. Configure global DKIM settings
Go to Mail Policies> Signing Profiles
Under DKIM Global Settings, click Edit Settings
Set DKIM Signing of System Generated Messages to Yes
Set use From Header for DKIM signing to Yes
Click submit
3. Create a separate signing profile for each mail domain/subdomain
Go to mail Policies> Singing Profiles
In the Domain Signing Profiles section, click Add Profile
Enter a name for the signing profile (e.g. example_com-DKIM)
Select DKIM as the Domain Key Type
Enter the domain name
Use s1 as the selector (or another arbitrary name if another service already uses s1)
Select relaxed for the header canonicalization (This allows for variations in whitespace)
Select relaxed for the body canonicalization (This allows for variations in whitespace)
Select the signing key
Configure the profile to sign the Standard This configures the gateway to only sign the following headers, so that DKIM will still pass when other mail systems add other, non-standard headers in transit (e.g. debugging headers):
“From; Sender; Reply Too Subject; Date; Message-ID; To, Cc; MIME-Version; Content-Type, Content-Transfer-Encoding; Content-ID, Content-Description”
Add The following additional headers to sign
BIMI-Selector
Specify Whole BodyImplied for body signing
Uncheck all tags to include in the signature
Leave the users field blank
Click Submit
4. Enable signing for outgoing mail
Go to Mail Policies>> Mail Flow Policies
Click on the RELAYED (i.e. outgoing) mail flow policy (or create it if it does not exist)
In the Security Features section, set DomainKeys/DKIM Signing to On
Click Submit
5. Enable signing for bounce and delay messages
Go to Network> Bounce Profiles
Edit the bounce profile associated with the public listener where you will send signed outbound messages (e.g. Default)
Set Enable Use Domain Key Signing for Bounce and Delay Messages to Yes